Virtually staging a home yourself is mostly about preparation, not the software itself — the AI tools handle the furniture placement, but a badly lit or badly framed source photo will produce a bad result no matter which tool you use. Here's the full process, from photographing an empty room to exporting a listing-ready image.
Step 1 — Photograph the Empty Room Correctly
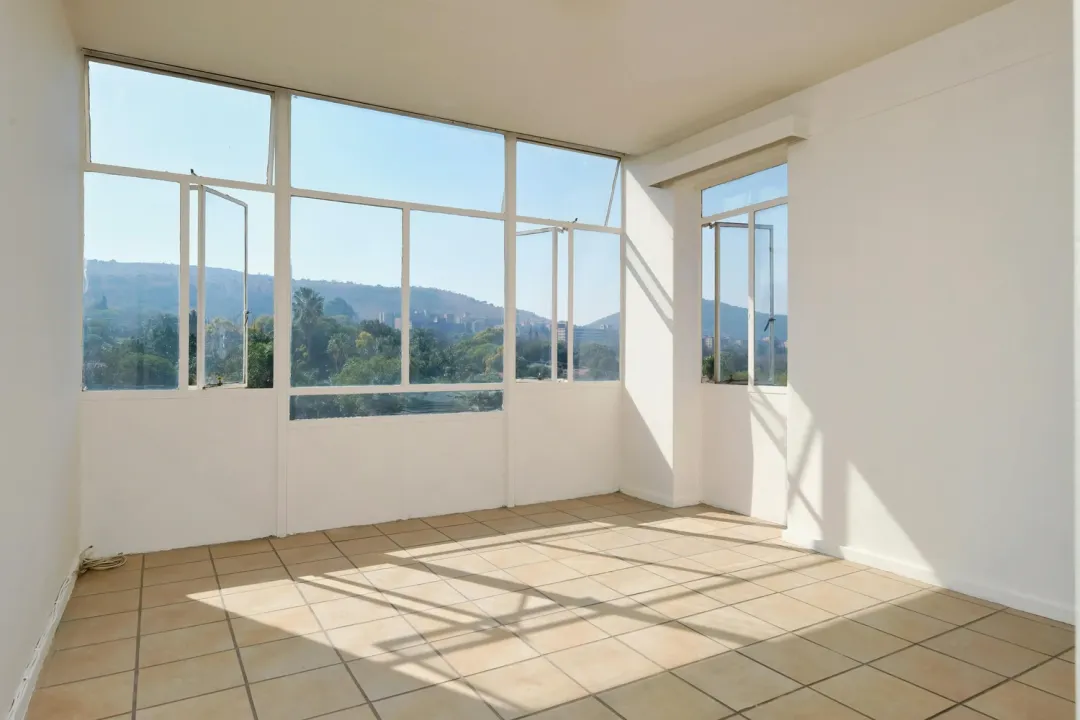
shoot in landscape orientation, ideally with the widest lens setting your camera or phone allows without heavy distortion. Turn on every light in the room and shoot during daylight hours with curtains open — even lighting reduces artifacts in the AI's furniture placement. Keep the camera at roughly chest height rather than shooting up or down at an angle, since most virtual staging tools are trained on eye-level perspectives and struggle with extreme angles.
Step 2 — Remove Clutter and Personal Items Before Shooting
while some tools offer AI furniture/object removal, starting with a genuinely empty and clean room produces more realistic results than relying on the tool to erase existing furniture. If the room isn't empty, note that furniture removal is often a separate feature or paid add-on depending on the tool — check this before uploading if the room isn't already vacant.
Step 3 — Choose a Tool Based on the Room Type and Style You Need
not every tool handles every room type or style equally well — some are stronger on living rooms and bedrooms, others handle exteriors or commercial spaces better. We've tested the free tiers and paid plans of the main tools in this space in detail: HomeDesigns.AI, Collov AI, Virtual Staging AI, and Redraw each take a slightly different approach to style range and room handling, covered in our full reviews below.
Read our full HomeDesigns.AI review →
Read our full Collov AI review →
Read our full Virtual Staging AI review →
See how all four rank in our guide to the best virtual staging software in 2026 →
Step 4 — Upload and Select a Furniture Style
most tools offer a set of preset styles (modern, Scandinavian, traditional, coastal, etc.). Choosing a style that matches the target buyer for the neighborhood generally produces better engagement than picking a style you personally prefer — a minimalist modern style tends to appeal to a broader range of buyers than a heavily themed one.
Step 5 — Review the Output Before Downloading
- Furniture scale relative to the room (AI tools occasionally place oversized or undersized pieces)
- Shadows and lighting direction matching the original photo's light source
- No floating or overlapping furniture at wall junctions or doorways
- Windows, outlets, and architectural features not obscured by placed furniture
Step 6 — Export at the Right Resolution for MLS
export at the highest resolution the tool allows before uploading to the MLS or listing platform — downscaling later is easy, but a low-resolution export can't be improved after the fact. Confirm the exported file has no visible watermark if you're on a paid plan, since some tools only remove watermarks after an explicit "finalize" or "purchase" step even on paid accounts.
FAQ
How long does it take to virtually stage a room?
Most AI tools process an image in just a few minutes; most of the time is usually spent choosing and adjusting the style, not on the processing itself.
Can I virtually stage a room from a phone photo?
Yes, provided the photo has good lighting and sufficient resolution; virtual staging tools do not require professional equipment, but photos taken in low light or at extreme angles produce noticeably worse results.
Do I need to edit the photo before uploading it to a virtual staging tool?
Usually not necessary, but removing personal items and ensuring the room is well-lit before shooting produces far more realistic results than relying solely on AI to fix issues afterward.